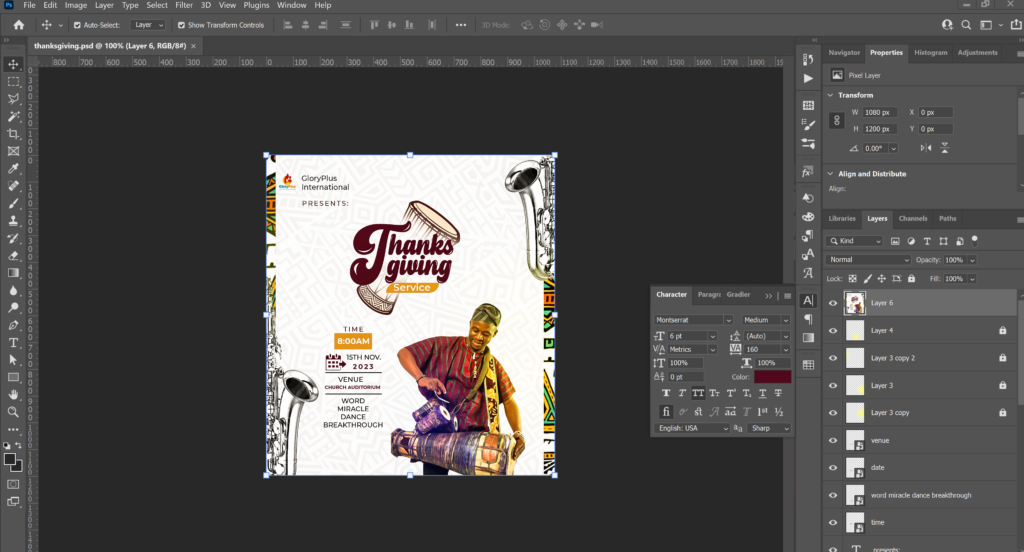
Let me walk you through my flyer design process in Photoshop. First, I always start with a clear idea of what I want to achieve with the flyer. What’s the message? Who’s the target audience? Once I have that nailed down, I create a new document in Photoshop with the correct dimensions. I usually go for standard sizes like square (1080 x 1080) or Instagram portrait size (1080 x 1350) or (1080 x 1200), but sometimes I adjust it depending on where the flyer will be displayed. This initial setup is crucial for ensuring a high-quality final product.
Next, I dive into the visual elements. This is where I bring in my resources. I’m a huge fan of Pinterest for visual inspiration. I spend quite a bit of time browsing through mood boards and different design styles to get my creative juices flowing. I find a lot of great stock photos, textures, and color palettes there. I also occasionally use Freepik for vector graphics or icons if I need something specific. I gather all these resources and organize them in a folder so I can easily access them within Photoshop.
Then comes the fun part: assembling the design. I start by placing my chosen background image or texture onto the canvas. I like to play with different blending modes and adjustments to get the desired effect. After that, I add the main text elements, like the headline and any important information. I carefully select fonts that complement the overall design and ensure readability. I also pay close attention to the hierarchy of information, making sure the most important details stand out.
I continue layering elements, adding images, graphics, and other visual details. I use Photoshop’s various tools, like the masking tool, layer styles, and adjustment layers, to refine the look and feel. I often experiment with different compositions and arrangements until I achieve a visually appealing and balanced design. It’s a very iterative process for me, constantly tweaking and adjusting things until I’m happy with the result.
Finally, I do a thorough review of the design. I check for any typos, alignment issues, or inconsistencies. I also make sure the design is visually appealing at different sizes, as it might be printed in various formats. Once I’m completely satisfied, I save the flyer in a high-resolution format, usually as a JPEG or PDF, ready for printing or digital distribution. This whole process, from initial concept to final export, is something I’ve honed over time, and it’s what works best for me.
